Showing posts with label Food. Show all posts

Sunday, May 5, 2013

Blueberry Muffins

On Christmas morning, I decided to do a little baking for my husband. I wanted to try a new blueberry muffin recipe that I found on someone's blog, but with a little twist of my own. My husband and I devoured 2 muffins each this morning because it was DELICIOUS! Then, we had another one with our dinner as our "appetizer."  Definitely try it and let me know how it went!


Ingredients:
  • 3 cups of all-purpose flour
  • 3/4 cup of sugar
  • 1 1/2  tablespoon of baking powder
  • 3/4 teaspoon of salt
  • 2 large eggs at room temperature
  • 1 1/2 cups of buttermilk (Important: shake)
  • 6 tablespoons of unsalted butter, melted and cooled slightly (approximately 3/4 stick)
  • 1 1/2 teaspoons vanilla extract
  • 1 1/2 cups of blueberries, lightly coated with flour
  • 1 1/2 teaspoons of grated lemon zest

DIRECTIONS:

1. Preheat oven to 350 degrees.

2. Grease the 12-cups muffing tin or line with muffin liners.

Image

3. Wash the blueberries and pat dry on the paper towel. Lightly coat dried blueberries with 1-2 teaspoons of all-purpose flour. Set them aside.

Image

4. In a large bowl, sift and mix together the dry ingredients (flour, sugar, salt, and baking powder). Then make a well in the center. Set aside.

Image

Image

5. Melt unsalted butter (I placed the butter in the microwave for about a minute and had it sit to cool before mixing with the wet mixture).

Image

6. Stir in the liquid ingredients (beat the eggs first; then add buttermilk, melted butter, vanilla extract, and lemon zest) until just combined.

Image

7. Stir in the wet mixture into the well of the dry ingredients. Do not over-mix.

Image

Image

8. Gently and carefully fold the blueberries into the batter. The batter may be lumpy (it's okay!).

Image

9. Fill the batter to muffin cup right to the top using a large spoon or an ice cream scoop.

Image

Image

Image

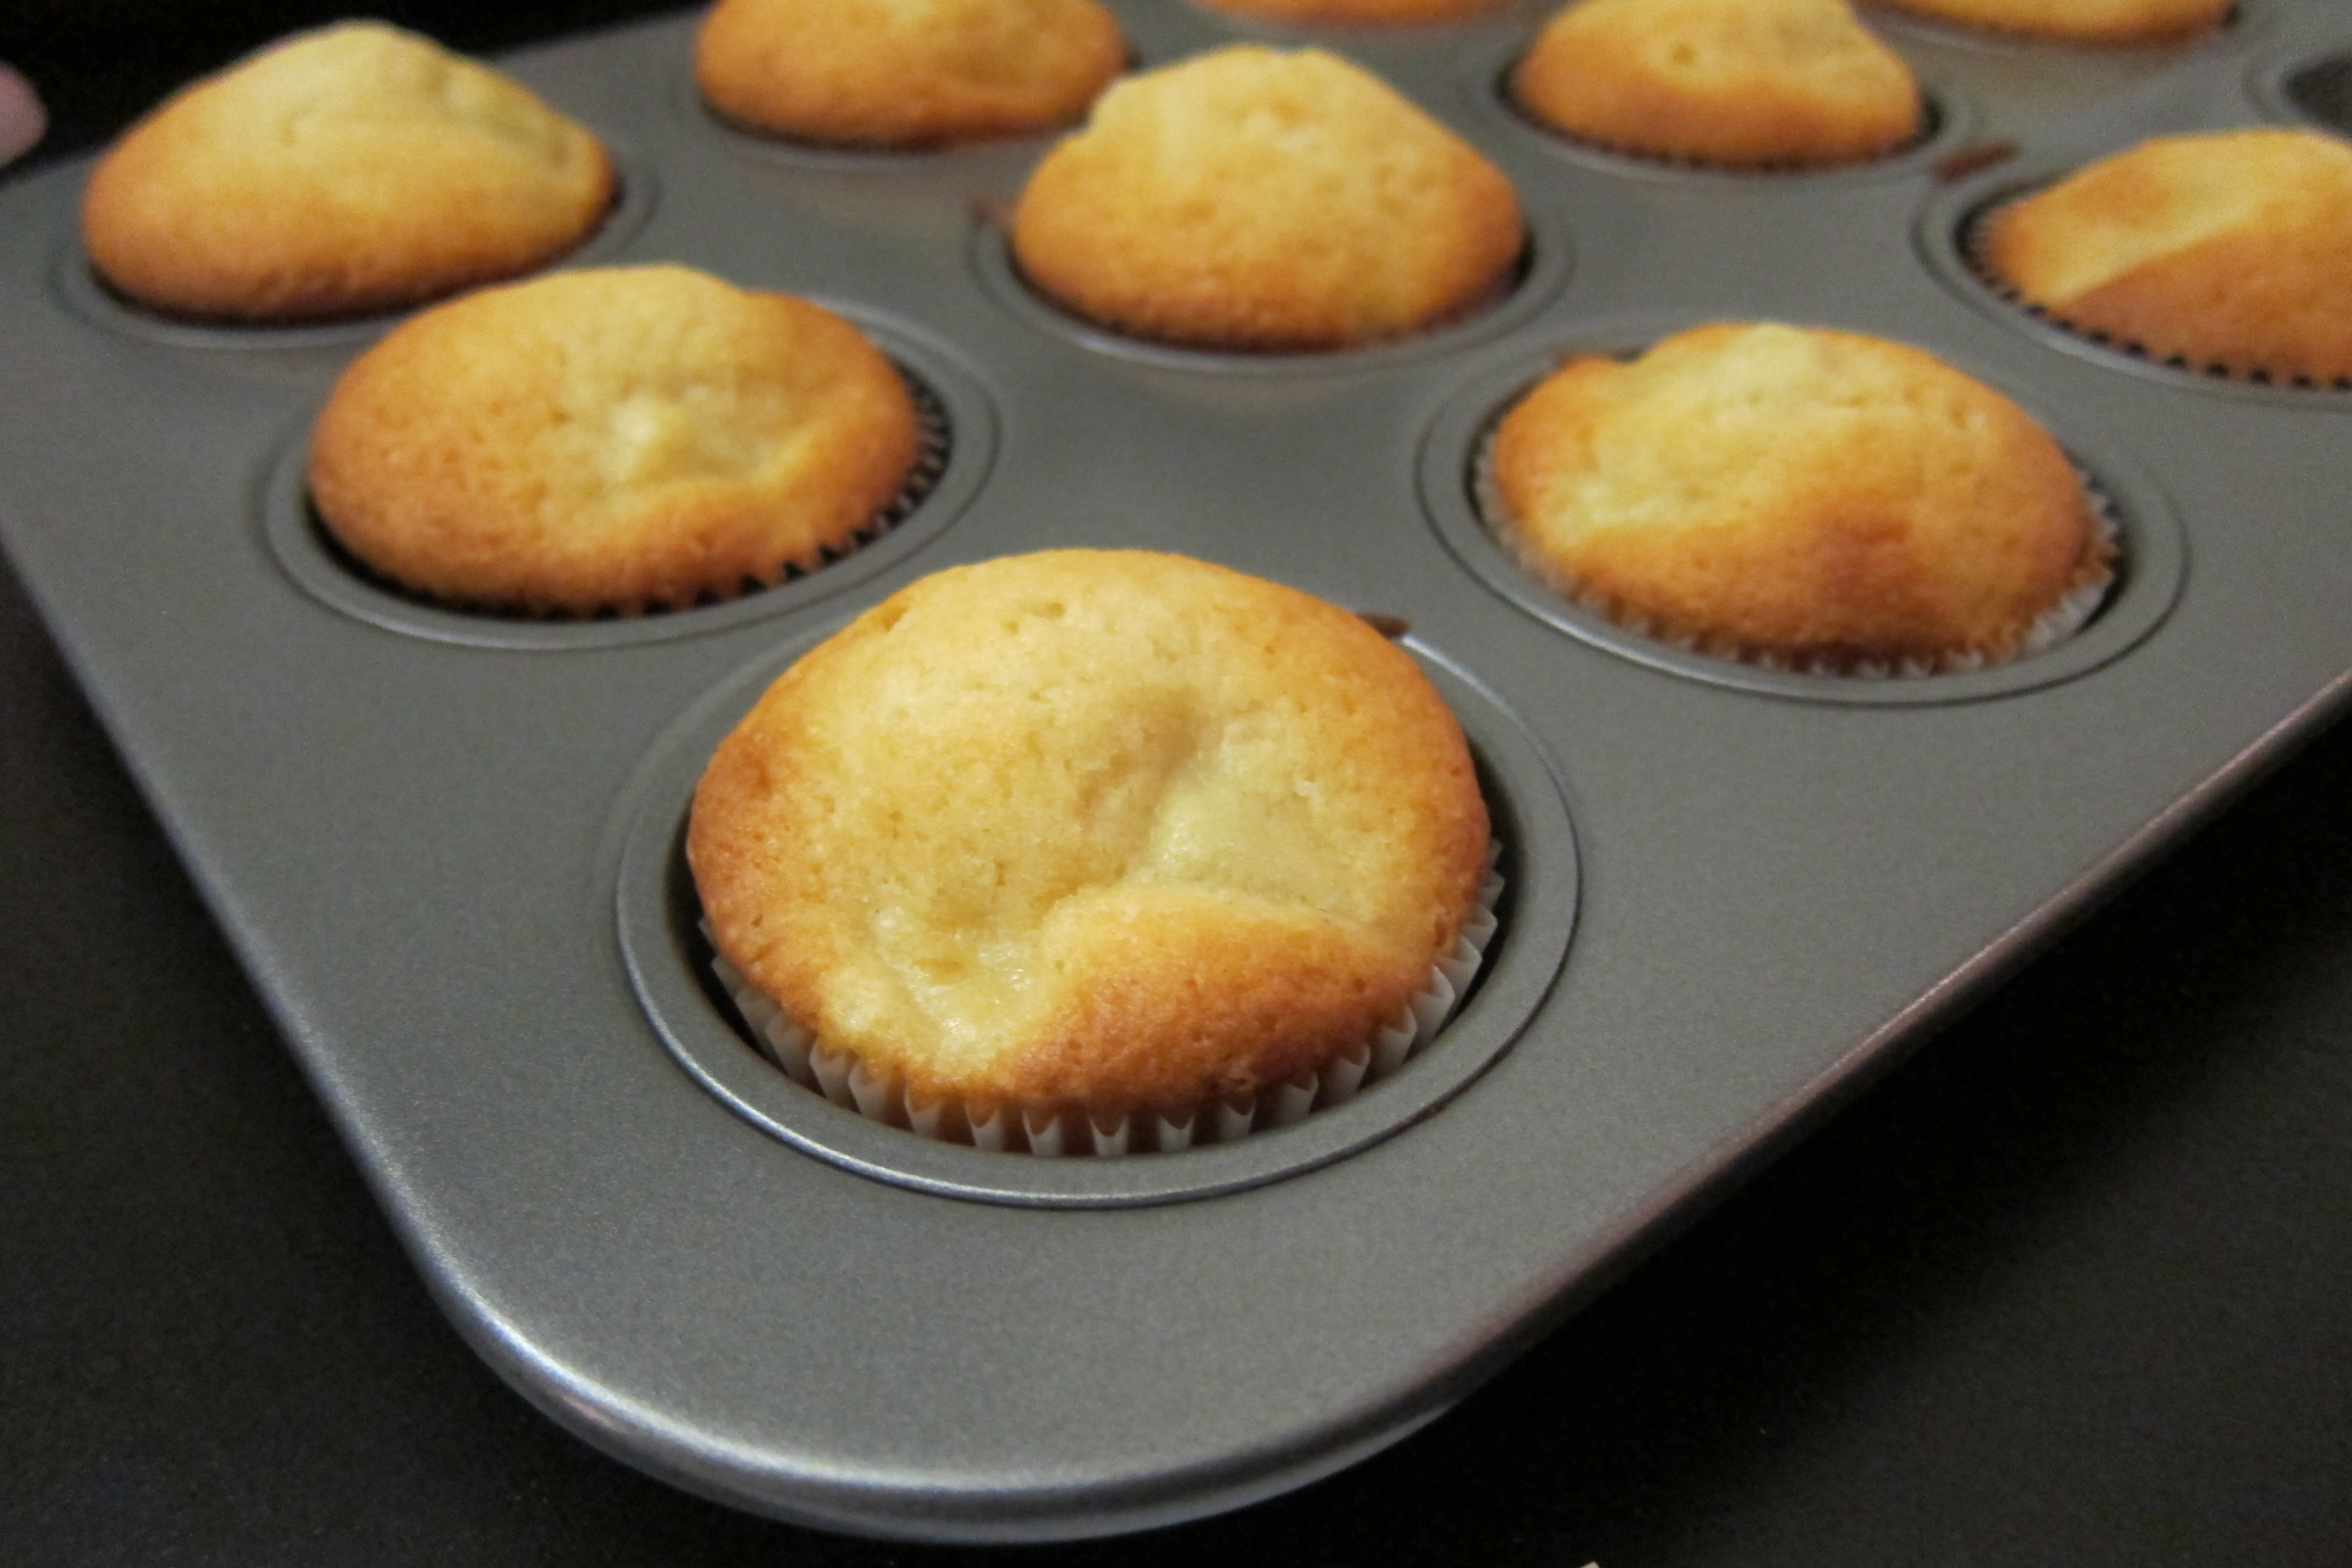
10. Bake for about 20 -22 minutes until lightly golden OR a cake taster inserted in the center comes out with moist crumbs. It actually took me about 25 minutes but I think it's just with my oven. Do not over-bake the muffins!

Image

Image

Yummy!

 photo Christy.jpg

Mini Corn Dogs


Image

Corn dogs have always been one of my favorite snacks to eat growing up. As I grew older and started realizing how "bad" corn dogs could be, I started limiting my consumption. However, I recently found this awesome recipe and decided that I'll change things up so that I feel less guilty about eating them. Awesome and easy recipe, and it's definitely a recipe to try!

Ingredients:
  • 1 cup of yellow corn meal
  • 1 cup of all-purpose flour
  • 1/4 teaspoon of salt
  • 1/8 teaspoon of black pepper
  • 1/4 cup of sugar
  • 4 teaspoons of baking powder
  • 1 large egg
  • 1 cup of milk (I used skim milk but can use 1%/2%/whole based on your preference)
  • wooden skewers (shorter the better)
  • Canola oil for deep-frying the corn dogs
  • Beef franks (I used 98% fat free hot dogs)

Directions:

1. Pour enough canola oil in a deep-sauce pan and preheat the oil on low/medium heat so that it will be hot enough to start frying once you are done mixing the batter.

2. Steam the hot dogs (I used microwave to save time--about 30 seconds).

Image
3. Cut the hot dogs in half and inset the wooden skewers into the hot dog. Set them aside.

Image
4. In a medium bowl, mix the cornmeal, flour, sugar, salt, black pepper, and baking power together.

Image
cornmeal

Image
flour

Image
salt

Image
black pepper

Image
(I didn't have the 1 tsp spoon, so used 1/2 tsp spoon 4 times for the baking powder)

Image
sugar

5. Stir in the egg and milk into the dry mixture.
Image
milk

Image
egg

6. Stir the ingredients until it's well-mixed.

Image

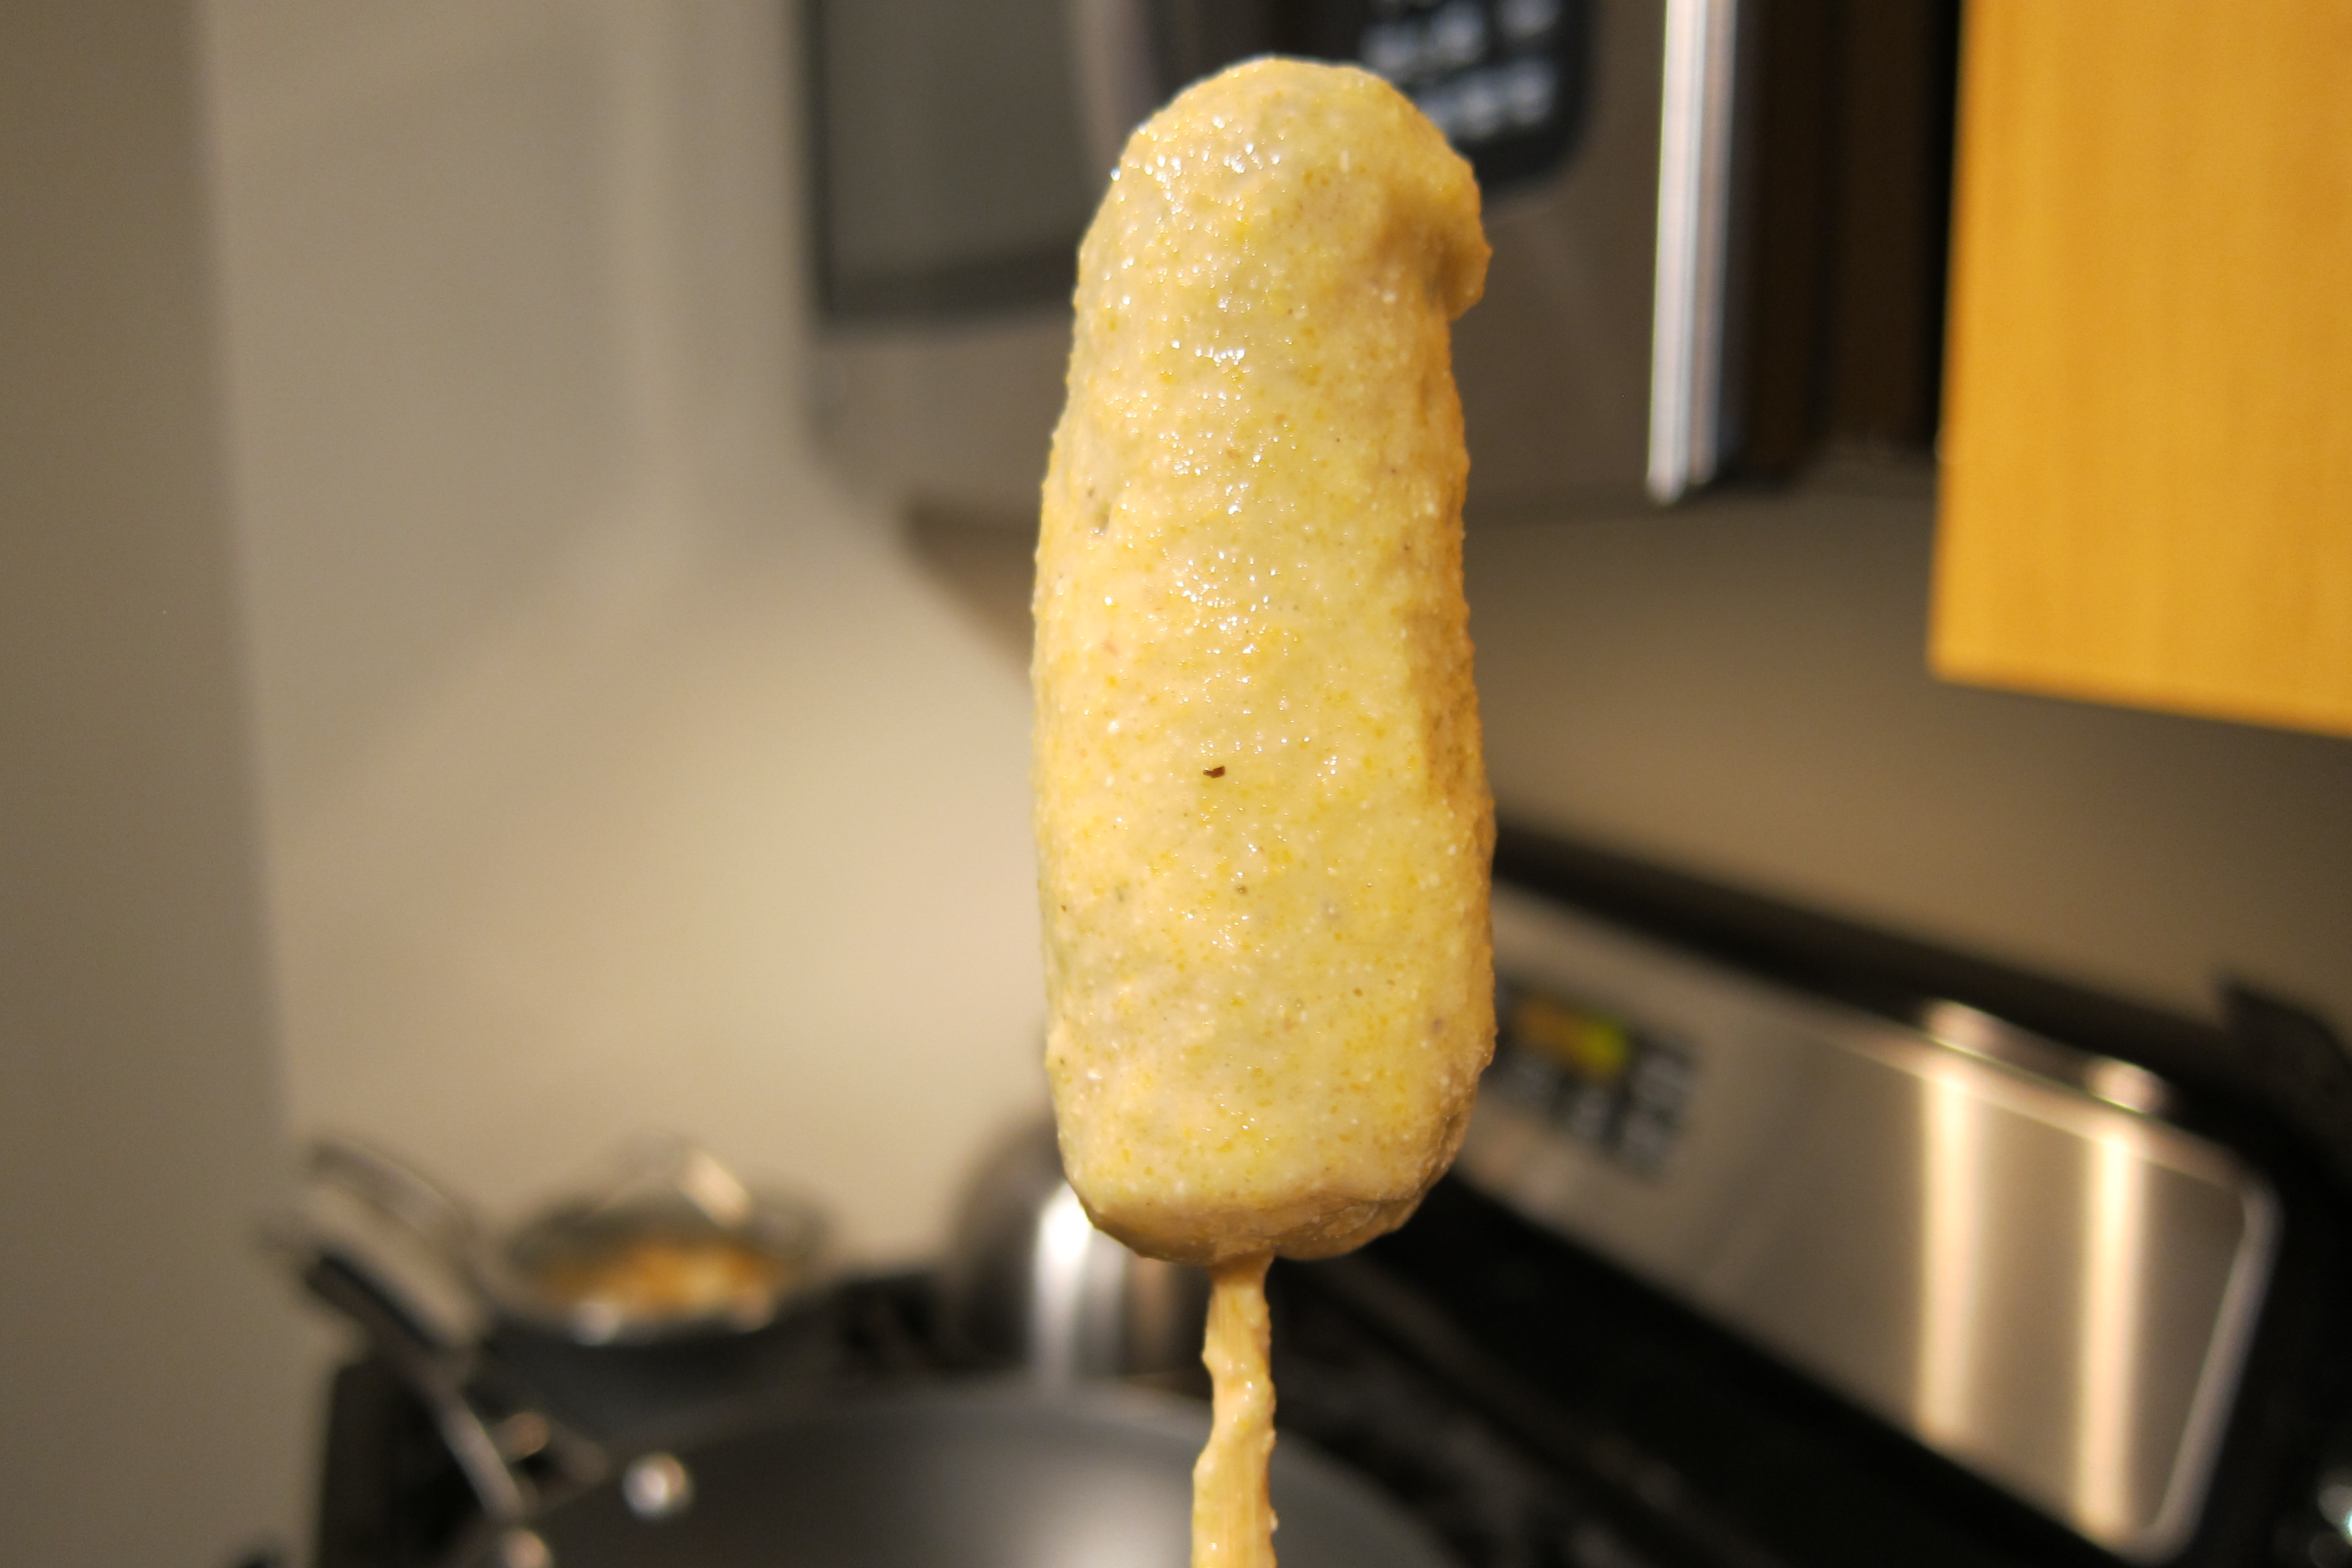
7. Roll the hot dogs in batter until well coated.

Image

Image

8. Fry 2 or 3 corn dogs at a time until lightly browned, about 2-3 minutes. The batter makes about 24 corn dogs.

Yum! Like it??

Image


 photo Christy.jpg

Sweet Potato Muffin


Image

I LOVE sweet potatoes and I can seriously eat them all the time! Maybe it's an Asian thing and I'm sure a lot of Asians can relate--but especially around this time of the year, we eat a lot of sweet potatoes. We eat them boiled/steamed; incorporated them into bread or cake; fry them; and even make them out of lattes (sweet potato latte, I know!). Not to mention, you can add sweet potato to your pizza--and trust me, it actually tastes REALLY good (future post coming up).
I found this awesome recipe and decided to try them myself. This was actually my second time baking the sweet potato muffins, and it came out perfect both times. It's not overly sweet and not overly oily, but yet smooth and soft with bits of sweet potato chunks embedded in the muffin, yum!

Ingredients:
  • 3 cups of all-purpose flour
  • 1 1/2 cups of sugar
  • 2 teaspoons of baking powder
  • 1/4 teaspoon kosher salt (or regular salt is fine)
  • 3/4 cup vegetable/canola/olive oil
  • 3/4 cup milk (I used 1% milk but can use whole/2%/nonfat milk)
  • 2 large eggs (room temperature)
  • 2 small Korean/Asian sweet potatoes or 1 large sweet potato (steamed & chopped into 1/2-inch)
  • Chocolate and chopped pecans/walnuts (optional)

Directions:

1. Steam,cool and chop sweet potato into 1/2-inch cubes. You can easily steam the sweet potato using the microwave to save time. You can pop it in for about 7-8 minutes OR until you can easily poke the sweet potato all the way through. This is the lengthiest part of this recipe.

2. Once the chopped sweet potatoes are cooled, preheat the oven to 375 F.

3. Sift the all-purpose flour, baking powder and salt together.

Image

4. Beat in the eggs, sugar, and oil together.

Image

5. Gently add in the dry ingredients into the wet mixture in 3 batches, alternating with the milk (half of dry ingredients; add all the milk; add in the rest of the dry ingredients).

Image

6. Mix until well blended.

7. With a wooden spoon or spatula, stir in the sweet potato chunks and fold them into the mixture.

Image

8. Fill the prepared muffin cups about two-thirds full (too much can cause you to bake longer, making the muffin dry).

9. Bake for 18-22 minutes until golden brown or until a cake tester placed in the center of the muffin comes out clean. Options: You can fold pecans, walnuts, or chocolate in the batter. 

Image

 photo Christy.jpg

Lemon Yogurt Cake


Image

One of the things I'm doing a lot this year is venturing out and doing things that I've always enjoyed doing---cooking, especially baking! It was hard for me to cook a decent meal for myself and my husband when I used to teach--getting something to-go or going out to eat dinner was VERY common in our household until this year. When I decided to take this year off from the classroom, I was sad but at the same time very ecstatic about all the things I could do that I've been wanting to do but didn't have the time and energy to do them.

I've been SERIOUSLY obsessed with Ina Garten of Barefoot Contessa. She's been my role model and I've been watching almost all her cooking episodes from Food Network. I've recorded a dozen or more of her shows so that I could try out her recipes, especially all the baking-related recipes!
I've been eyeing a particular recipe to try for quite some time and decided to give it a shot and try out her Lemon Yogurt Cake recipe (words in bold= what I changed from the original recipe).

Ingredients:
  • 1 1/2 cups all-purpose flour 
  • 2 teaspoons baking powder
  • 1/2 teaspoon kosher salt
  • 1 cup plain, nonfat (low-fat, whole) milk yogurt
  • 1 cup sugar (for less-sweetness, 3/4 cup will be sufficient)
  • 3 extra-large eggs
  • 2 teaspoons grated lemon zest (approximately 1 whole lemon)
  • 1/2 teaspoon pure vanilla extract 
  • 1/3 cup vegetable oil (canola oil or olive oil will do)
For the glaze:
  • 1/3 cup of sugar
  • 1/3 cup of freshly, squeezed lemon juice (you should use the same lemon you used for the zest)

Directions:

1. Preheat the over to 350 degrees F. Grease 8 1/2 by 4 1/2 by 2 1/2-inch bread loaf pan. You should probably grease the pan.

2. Sift together the flour, baking powder, and salt into 1 bowl.

Image

Image

3. In another bowl, whisk together the yogurt, 1 cup of sugar, the eggs, lemon zest, and vanilla extract.

Image

4. Slowly whisk the dry ingredients into the wet ingredients. With a rubber spatula, fold (or stir) the vegetable oil into the batter, making sure it's all incorporated.

Image

5. Pour the batter into the prepared pan and bake for about 50 minutes, or until a cake tester placed in the center of the loaf comes out clean.

Image

6. For the glaze: Cook 1/3 cup of lemon juice and  1/3 cup of sugar in a small pan until the sugar dissolves and the mixture is clear. Set aside.

7. When the cake is done, allow it to cool in the pan for 10 minutes. Carefully place the cake on a baking rack over a sheet pan. While the cake is still warm, pour (you can also use the brush) the lemon-sugar mixture over the cake and allow it to soak in.


**For healthier version, you can supplement sugar with Splenda; use whole-wheat flour instead of all-purpose flour; and use 3/4 cup of sugar instead of 1 cup of sugar for the batter. You can also skip the glaze--which I did, and it still tasted WONDERFUL!


The cake pairs wonderfully with berries and vanilla ice cream. Definitely a light dessert to treat your family and friends, and also great for gifts! Ohhhhh, and NO BUTTER!!

Image
 photo Christy.jpg